Deploy a Docker App on Kubernetes - Step by Step [Part 2]
![Deploy a Docker App on Kubernetes - Step by Step [Part 2]](https://www.zaine.me/img/docker-to-kube.webp "Cover Image")
In theses series of the blog, I will show you how to “dockerize”, “kubernify” and monitor an application.
In the first part, we made an app that comprises of an nginx server serving a “Hello World” page.
In this 2nd part, we will setup our ‘mini’-kubernetes cluster and host our app on it.
Then, in the 3rd part, we’ll see how we can set up our app to be fault-tolerant and highly available.
0. Prerequisites#
First of all, what’s Kubernetes and what’s Minikube ?
Allow me to quote the official website:
Kubernetes is an open-source container-orchestration system for automating deployment, scaling and management of containerized applications.
In short, Kubernetes is a tool that automatically manages your containers.
And what about Minikube ? It’s a mini kubernetes that’s designed to run on a personal computer! Cool 🤩
Before we get started, make sure you installed these tools.
1. Fire up the minikube engines!#
After you go through all the hassle of installing Minikube (I know it can be a pain in the a*s depending on your OS), let’s tune up minikube with this simple shell command minikube start
If everything went OK, you’ll be greeted with this message
🏄 Done! kubectl is now configured to use “minikube”
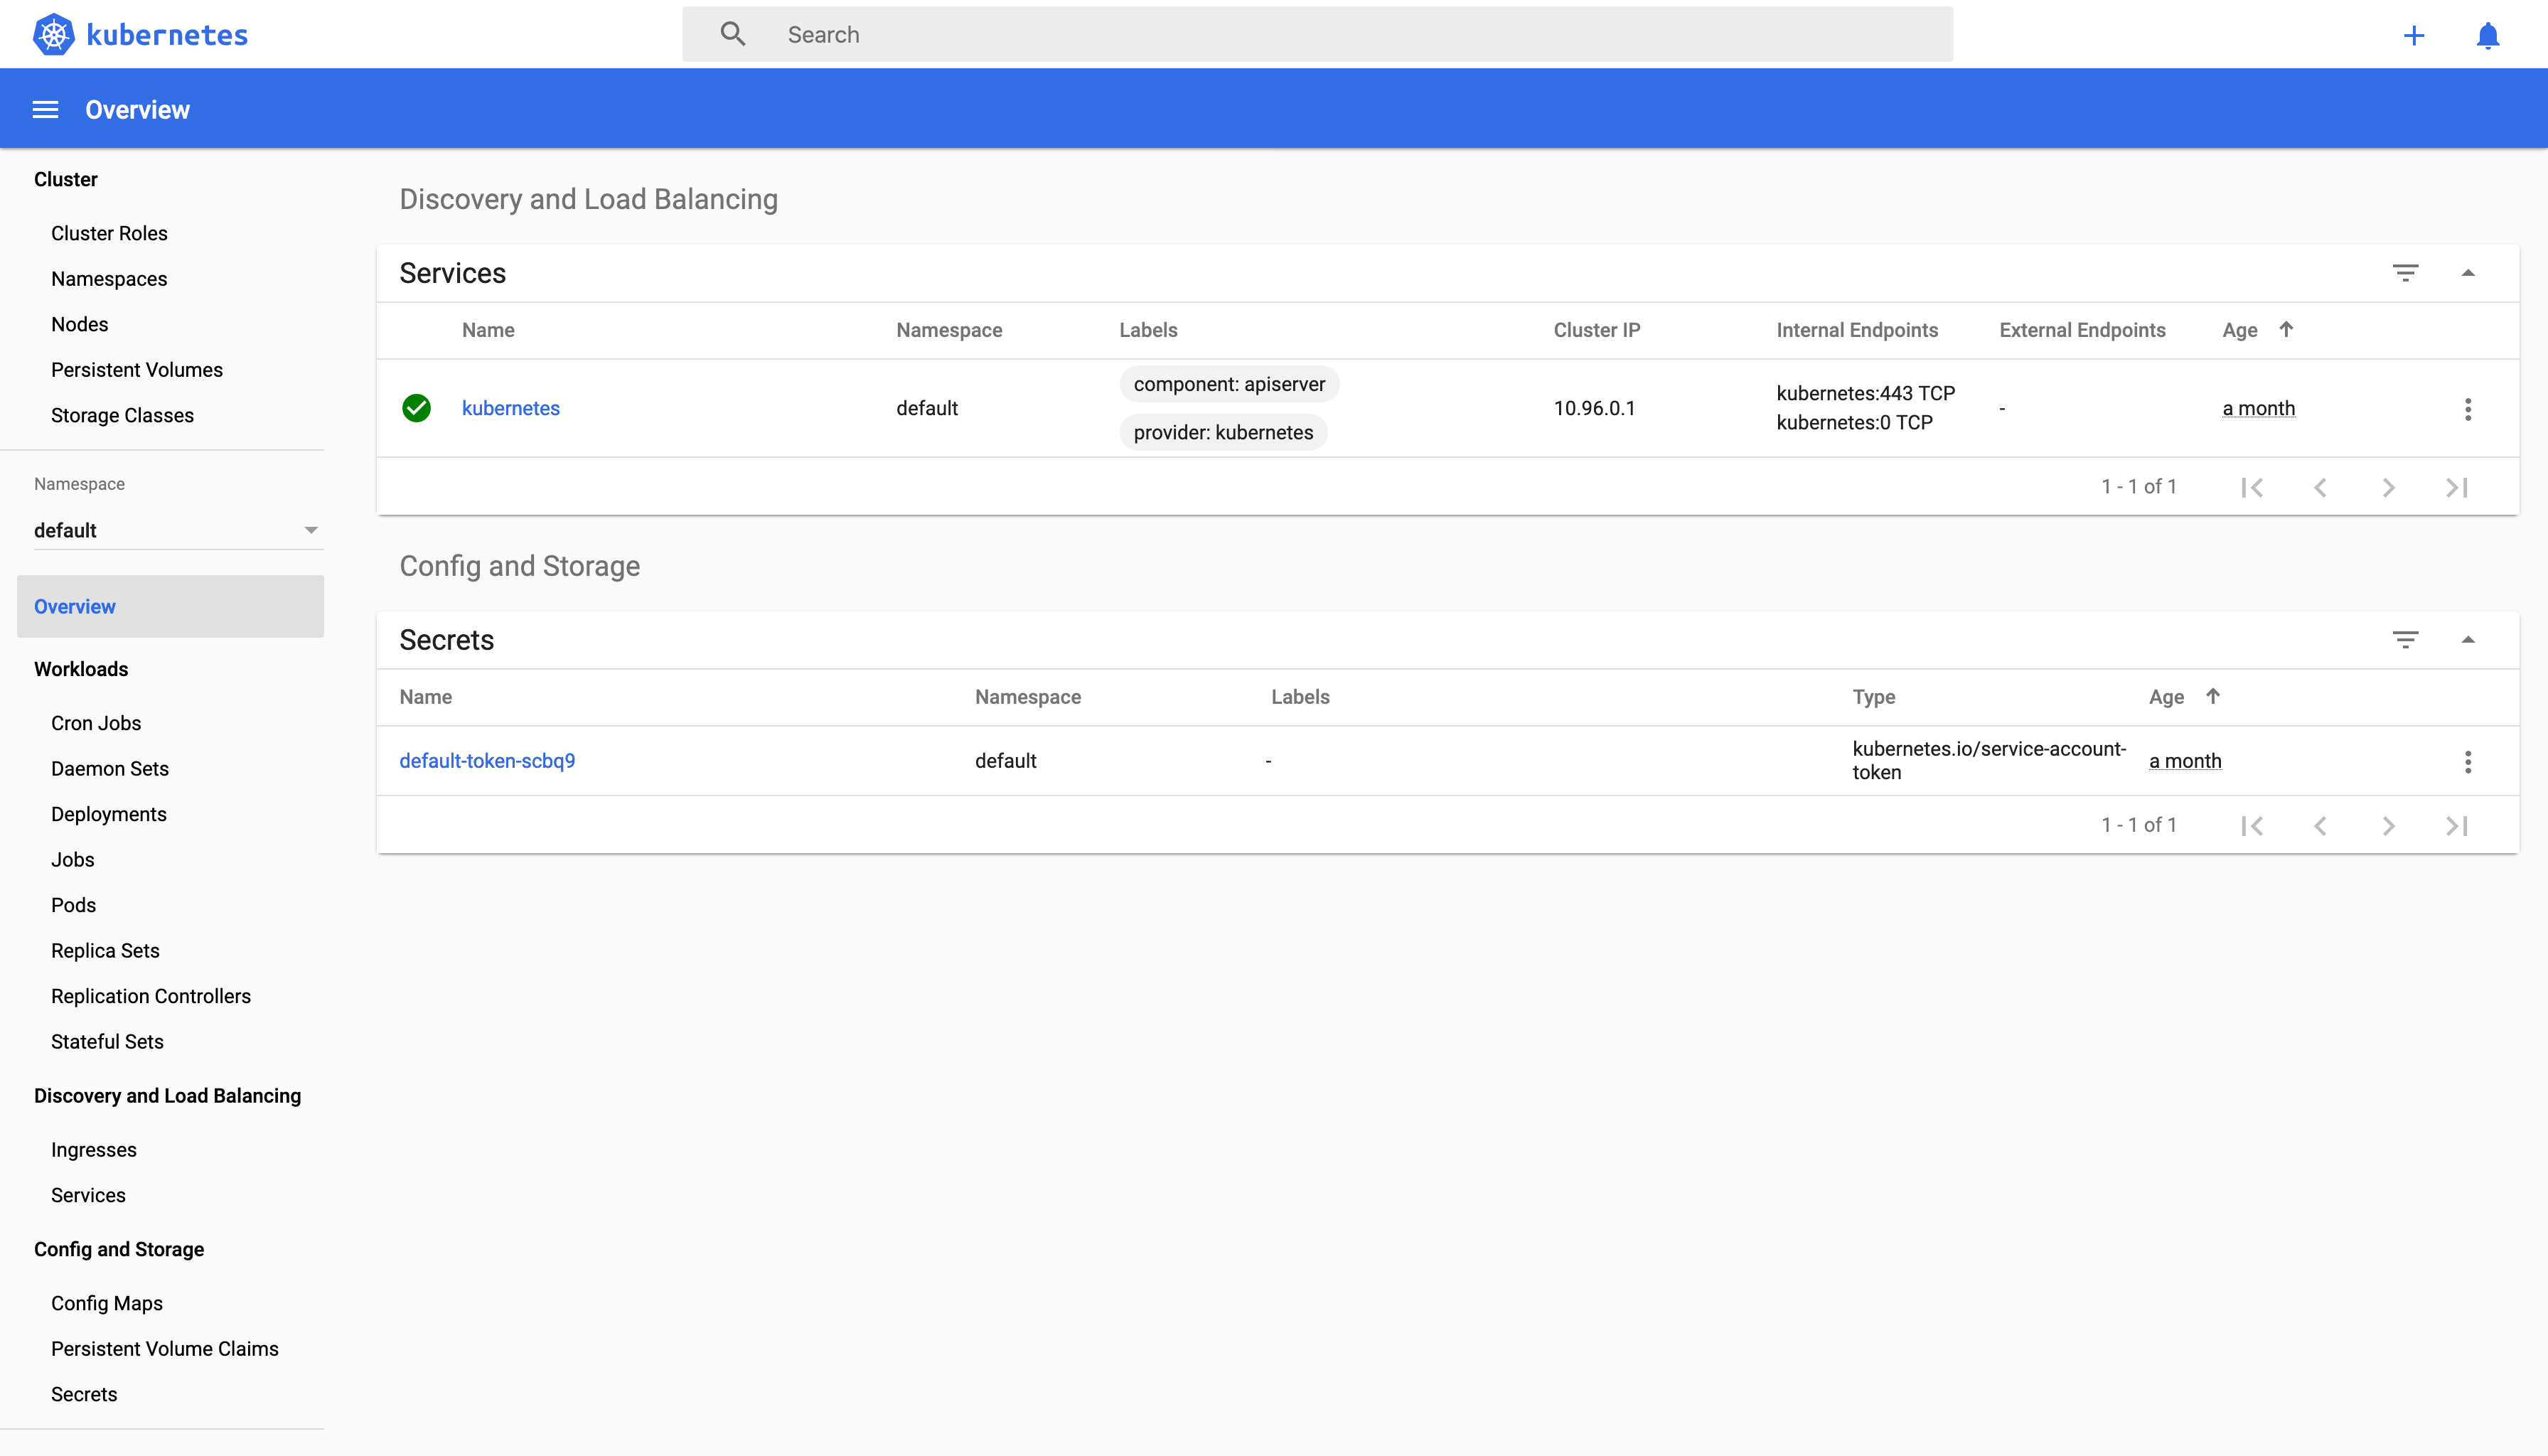
Let’s test if everything is OK, by asking for the Kubernetes dashboard!
You: minikube dashboard
Minikube: Hold my beer while I transform myself into a web app!
2. Write the first YAML#
Fun fact : Originally YAML was said to mean Yet Another Markup Language, referencing its purpose as a markup language with the yet another construct, but it was then repurposed as YAML Ain’t Markup Language, a recursive acronym, to distinguish its purpose as data-oriented, rather than document markup.
Source: Wikipedia
YAML is how you would describe Kubernetes resources (pod, service, …). We’ll use a variety of resources in this tutorial and the next one, so I’ll describe each resource when needed.
Pod:#
A Kubernetes pod is a group of containers that are deployed together on the same host. If you frequently deploy single containers, you can generally replace the word “pod” with “container” and accurately understand the concept.
Basically, a pod YAML could be written as follows (Attention, YAML is extremely sensitive to indentation):
---
apiVersion: v1
kind: Pod
metadata:
  name: nhw-pod
  labels:
    name: nhw-pod
spec:
  containers:
    - name: nhw-container
      image: nhw
      ports:
        - containerPort: 80
      imagePullPolicy: IfNotPresent
---
Save this under nhw.yml for example. This YAML file, when applied, will ask Kubernetes to fire up:
- a Pod resource (or kind), with the name
nhw-podthat contains one container, - a container named
nhw-containerbased on the docker imagenhwand exposing the port 80 of this container, and only pull the image if it does not exist.
Go ahead and run kubectl apply -f nhw.yml, and then try to get your Kubernetes cluster pods by running kubectl get pods.
3. Your docker is not my… docker?#
Don’t be surprised if you see this output:
nhw-pod 0/1 ErrImagePull 0 5s
ErrImagePull means that Kubernetes could not pull the docker images nhw, and it’s normal.
Minikube actually runs in a virtual machine and not on your machine, and since we had built our Docker image on our Host and not the VM, our Docker image is on the host’s docker registry but not on the VM’s docker registry.
Technically, we will rebuild our docker image, using the VM’s docker daemon to have it on the VM’s docker registry. To do so, connect to the VM’s docker daemon by running eval $(minikube docker-env).
Then, follow it by docker images, if you see Docker images you’ve never pulled, you’re on the right track!
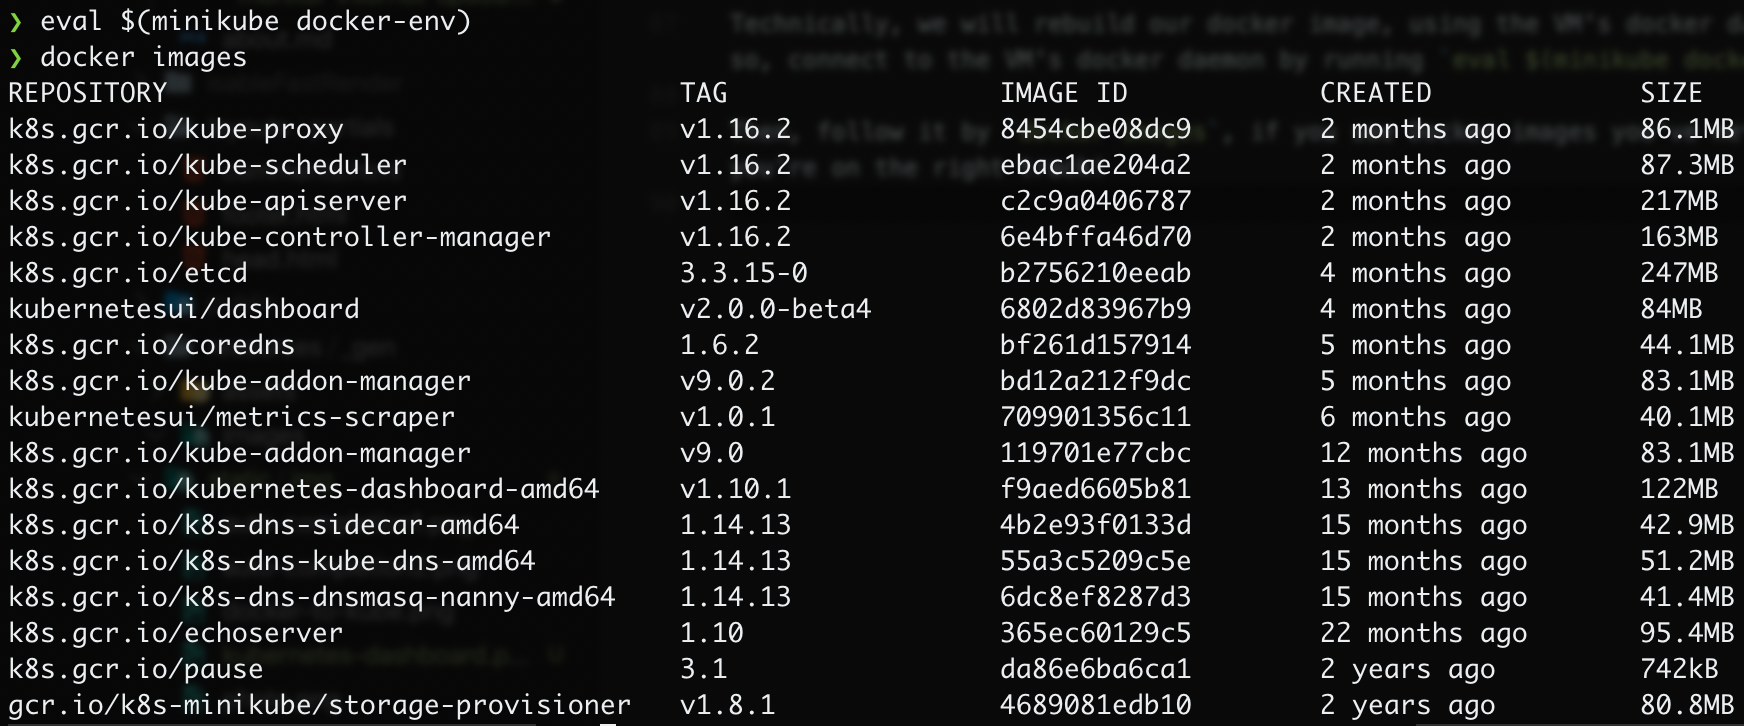
Head to your Dockerfile folder that we made in the previous post, and build the image again docker build -t nhw .
Our nhw docker image is now on Minikube’s VM docker registry.
Normally, Kubernetes will continuously retry to pull the image automatically until it’s OK, but if you don’t want to wait, you can delete the pod we created by running kubectl delete pod nhw-pod, and recreate it again kubectl apply -f nhw.yml.
4. Nginx: Catch me outside, how about that?#
kubectl get pods -owide
 Now that our pod is up & running, we need to expose it to the outside world.
By default, the Pod is only accessible by its internal IP address (in my case it’s 172.17.0.7) within the Kubernetes cluster.
To try this out, let’s ssh into the Minikube’s VM, by running minikube ssh. Then you can try to curl our application:

To make our container accessible from outside the Kubernetes virtual network, we have to expose the Pod as a ‘Kubernetes Service’.
To do so, we’ll use the kubectl expose command as follows:
kubectl expose pod nhw-pod --type=LoadBalancer --port=80
❯ kubectl expose pod nhw-pod --type=LoadBalancer --port=80
service/nhw-pod exposed
This will expose the port 80 of our app (which is the port of nginx) as a Kubernetes ‘service’ resource type of LoadBalancer.
Note: On cloud providers that support load balancers, an external IP address would be provisioned to access the Service. On Minikube, the LoadBalancer type makes the Service accessible through the minikube service command.
Running minikube service nhw-pod will open http://192.168.64.2:31999 on your default browser showing Hello World!
❯ minikube service nhw-pod
|-----------|---------|-------------|---------------------------|
| NAMESPACE |  NAME   | TARGET PORT |            URL            |
|-----------|---------|-------------|---------------------------|
| default   | nhw-pod |             | http://192.168.64.2:31999 |
|-----------|---------|-------------|---------------------------|
🎉  Opening service default/nhw-pod in default browser...
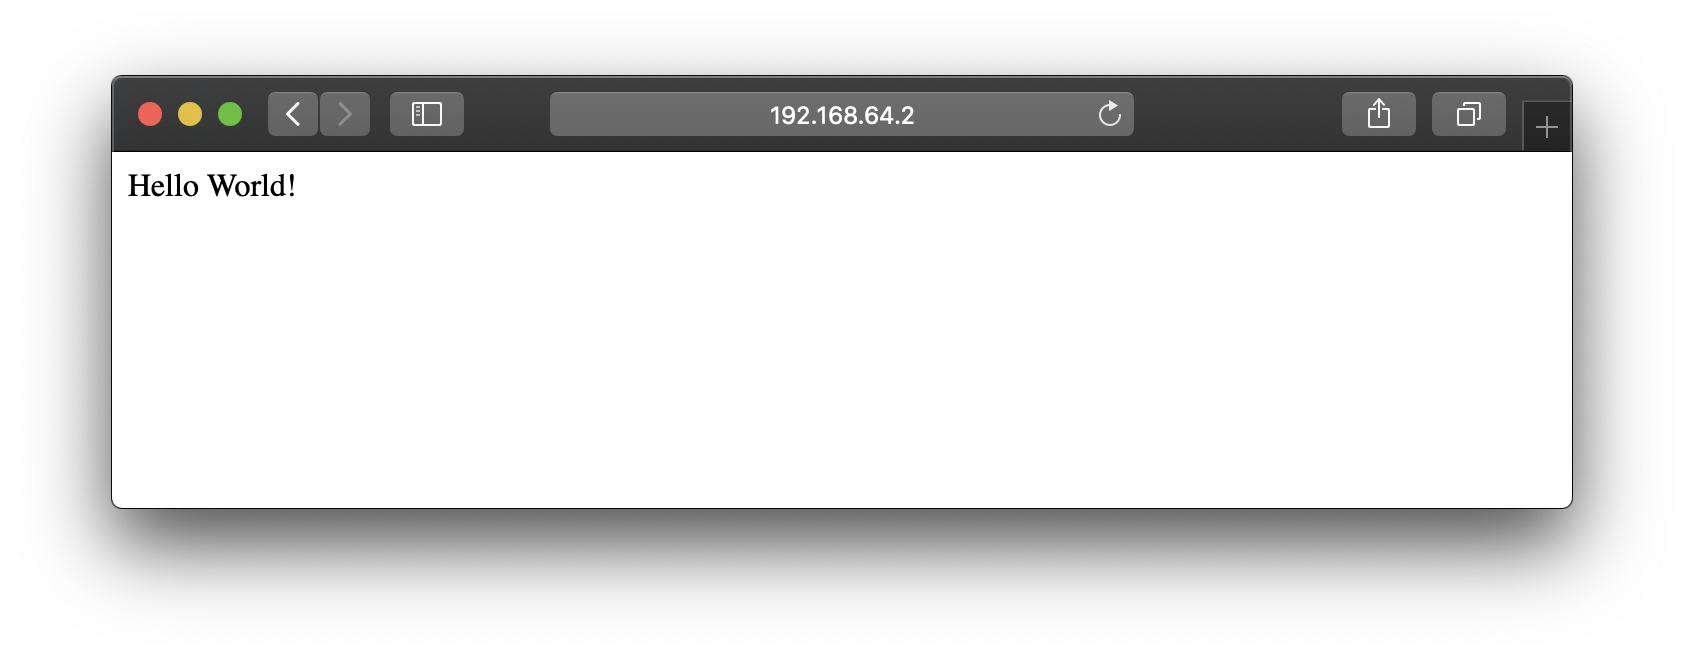
That’s done!
In the next post, we’ll see how to configure further this app to be fault tolerant using other Kubernetes resources, and how to monitor it.